Really been into hydrosols lately…
It started with lavender (Lavendula spp.).
I made my first hydrosol with dried lavender last year. I know they always say that hydrosols are best with fresh plant material, but this bunch of lavender was SO fragrant that somehow, I just knew it would work. And I was right. When I did it again with fresh African tulsi (Ocimum gratissimum) and dried lavender together a few months later, I officially fell in love with this preparation. I’m planning to do it again with eucalyptus (Eucalyptus globulus) and anise hyssop (Agastache foeniculum) this year.
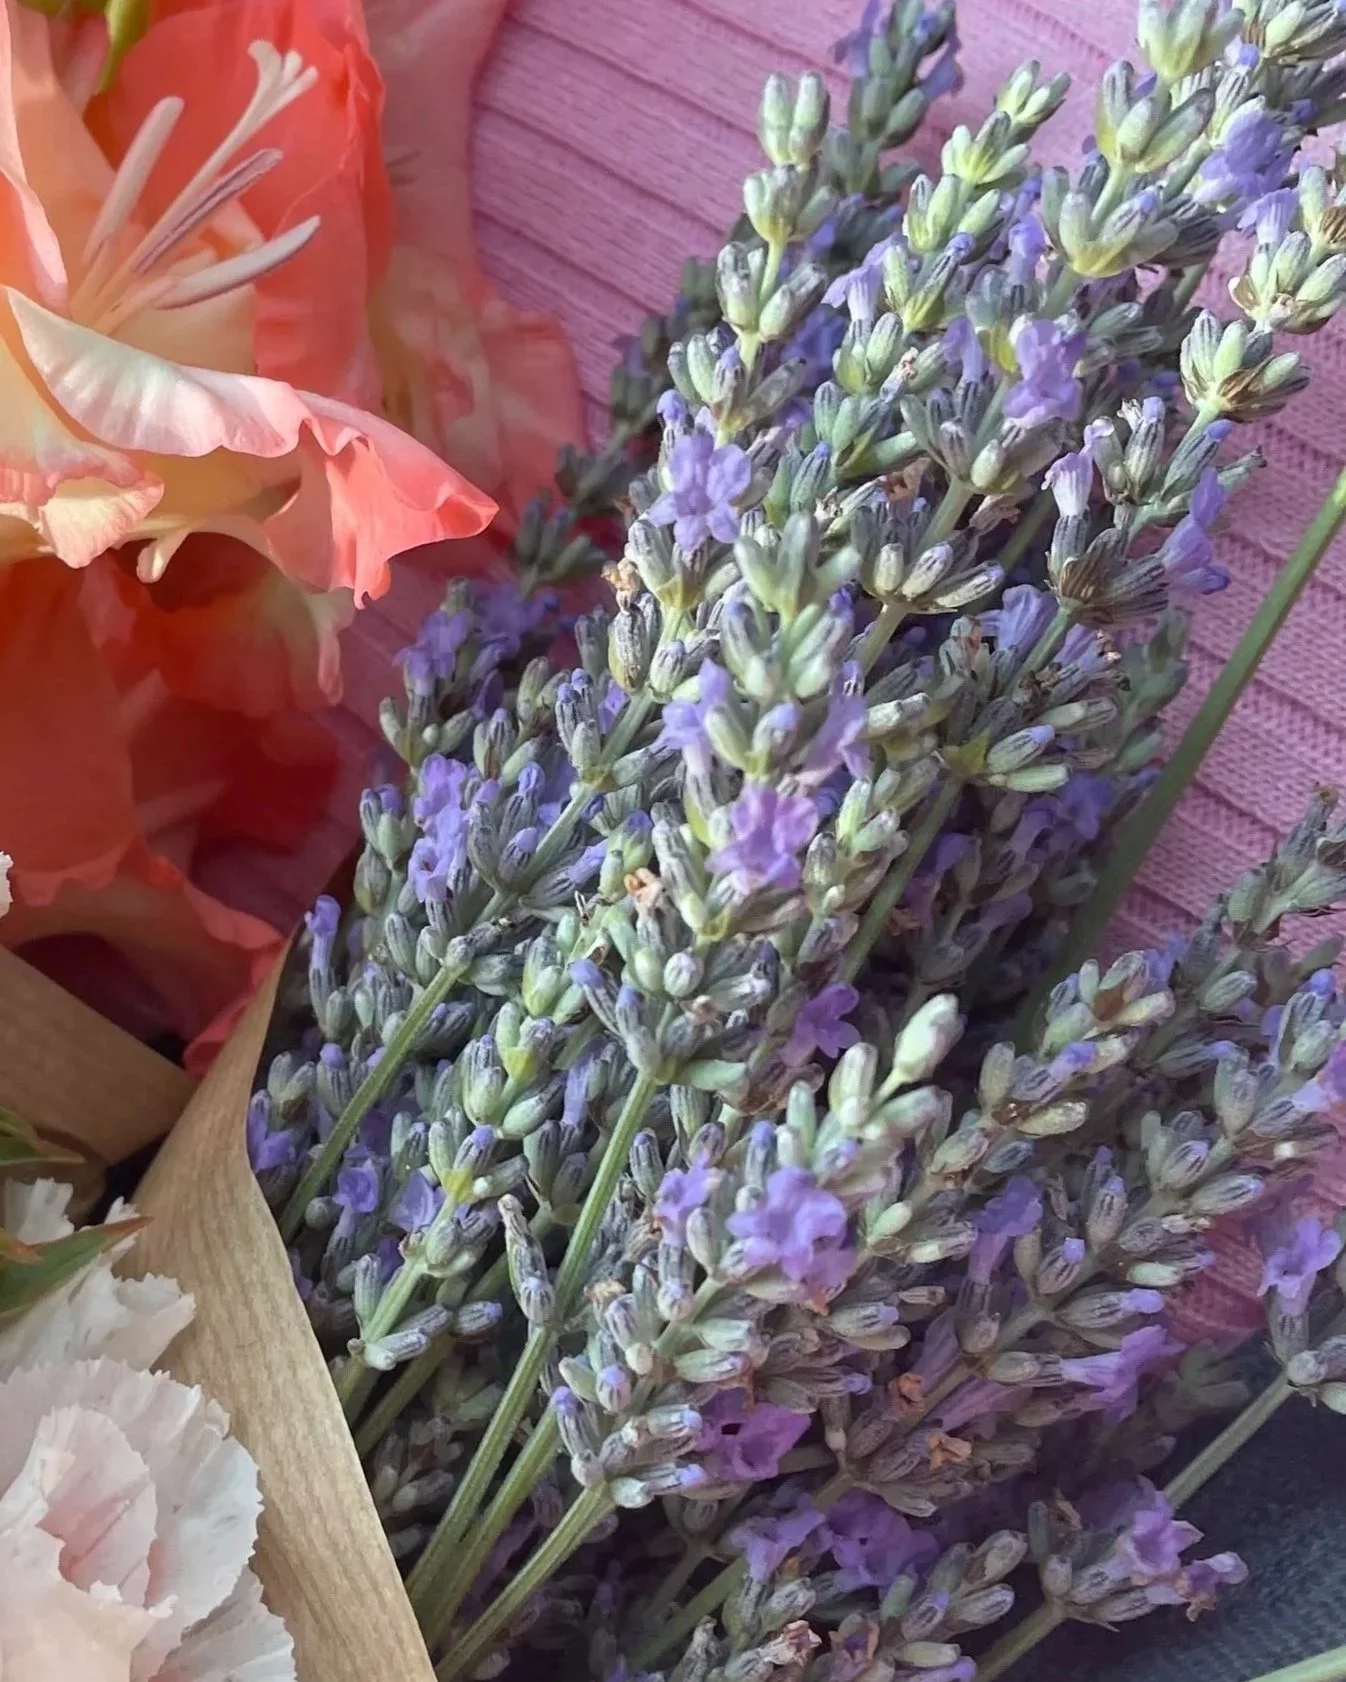
Last year’s fresh lavender (Lavendula spp.)
A hydrosol is produced during the process of steam distillation. Plant material is distilled to make essential oils and the water-based byproduct is what we call a hydrosol. It’s full of water soluble compounds and a small bit of volatile oils, meaning a well made hydrosol will smell like the plant that was distilled. But don’t confuse this as “water mixed with a few drops of essential oil”. Hydrosols have constituents that essential oils don’t have. They are a herbal preparation in its own right, not just a “less effective” or watered down version of essential oils.
I used the hydrosols in so many ways. Of course, I used them in mocktails, sparkling water and teas but I also used them in baths, creams, skincare, and cleaning. Adding hydrosol into your mop water is a great way to naturally scent your space.
Making a hydrosol might sound difficult, especially without a still. Stills are expensive and in my opinion, only a worthwhile investment if you mass produce essential oils or hydrosols. But with the right pot, a bowl, and some ice, you can make a great quality hydrosol at home.
Materials
A large pot that has a lid with a dome
A bowl to capture the liquid
A ramekin, small bowl or other platform to place under the bowl
Fresh plant material (flowers, leaves, etc.)
Filtered water
A large plastic or stasher bag
Ice
Instructions
Step 1: Put the pot on the stove. Place the ramekin or small bowl upside down in the center of the pot.
Step 2: Put your plan material around the bowl. Try to fit as much plant material as you can but not more than the height of the upside down bowl.
Step 3: Pour the water in the pot, enough to cover the plant material.
Step 4: Place your bowl on top of the upside down bowl. This way, the upside down ramekin keeps this bowl in place. You want the bowl to be about the same size in width.
Step 5: Place the lid of the pot upside down so that the dome is facing down.
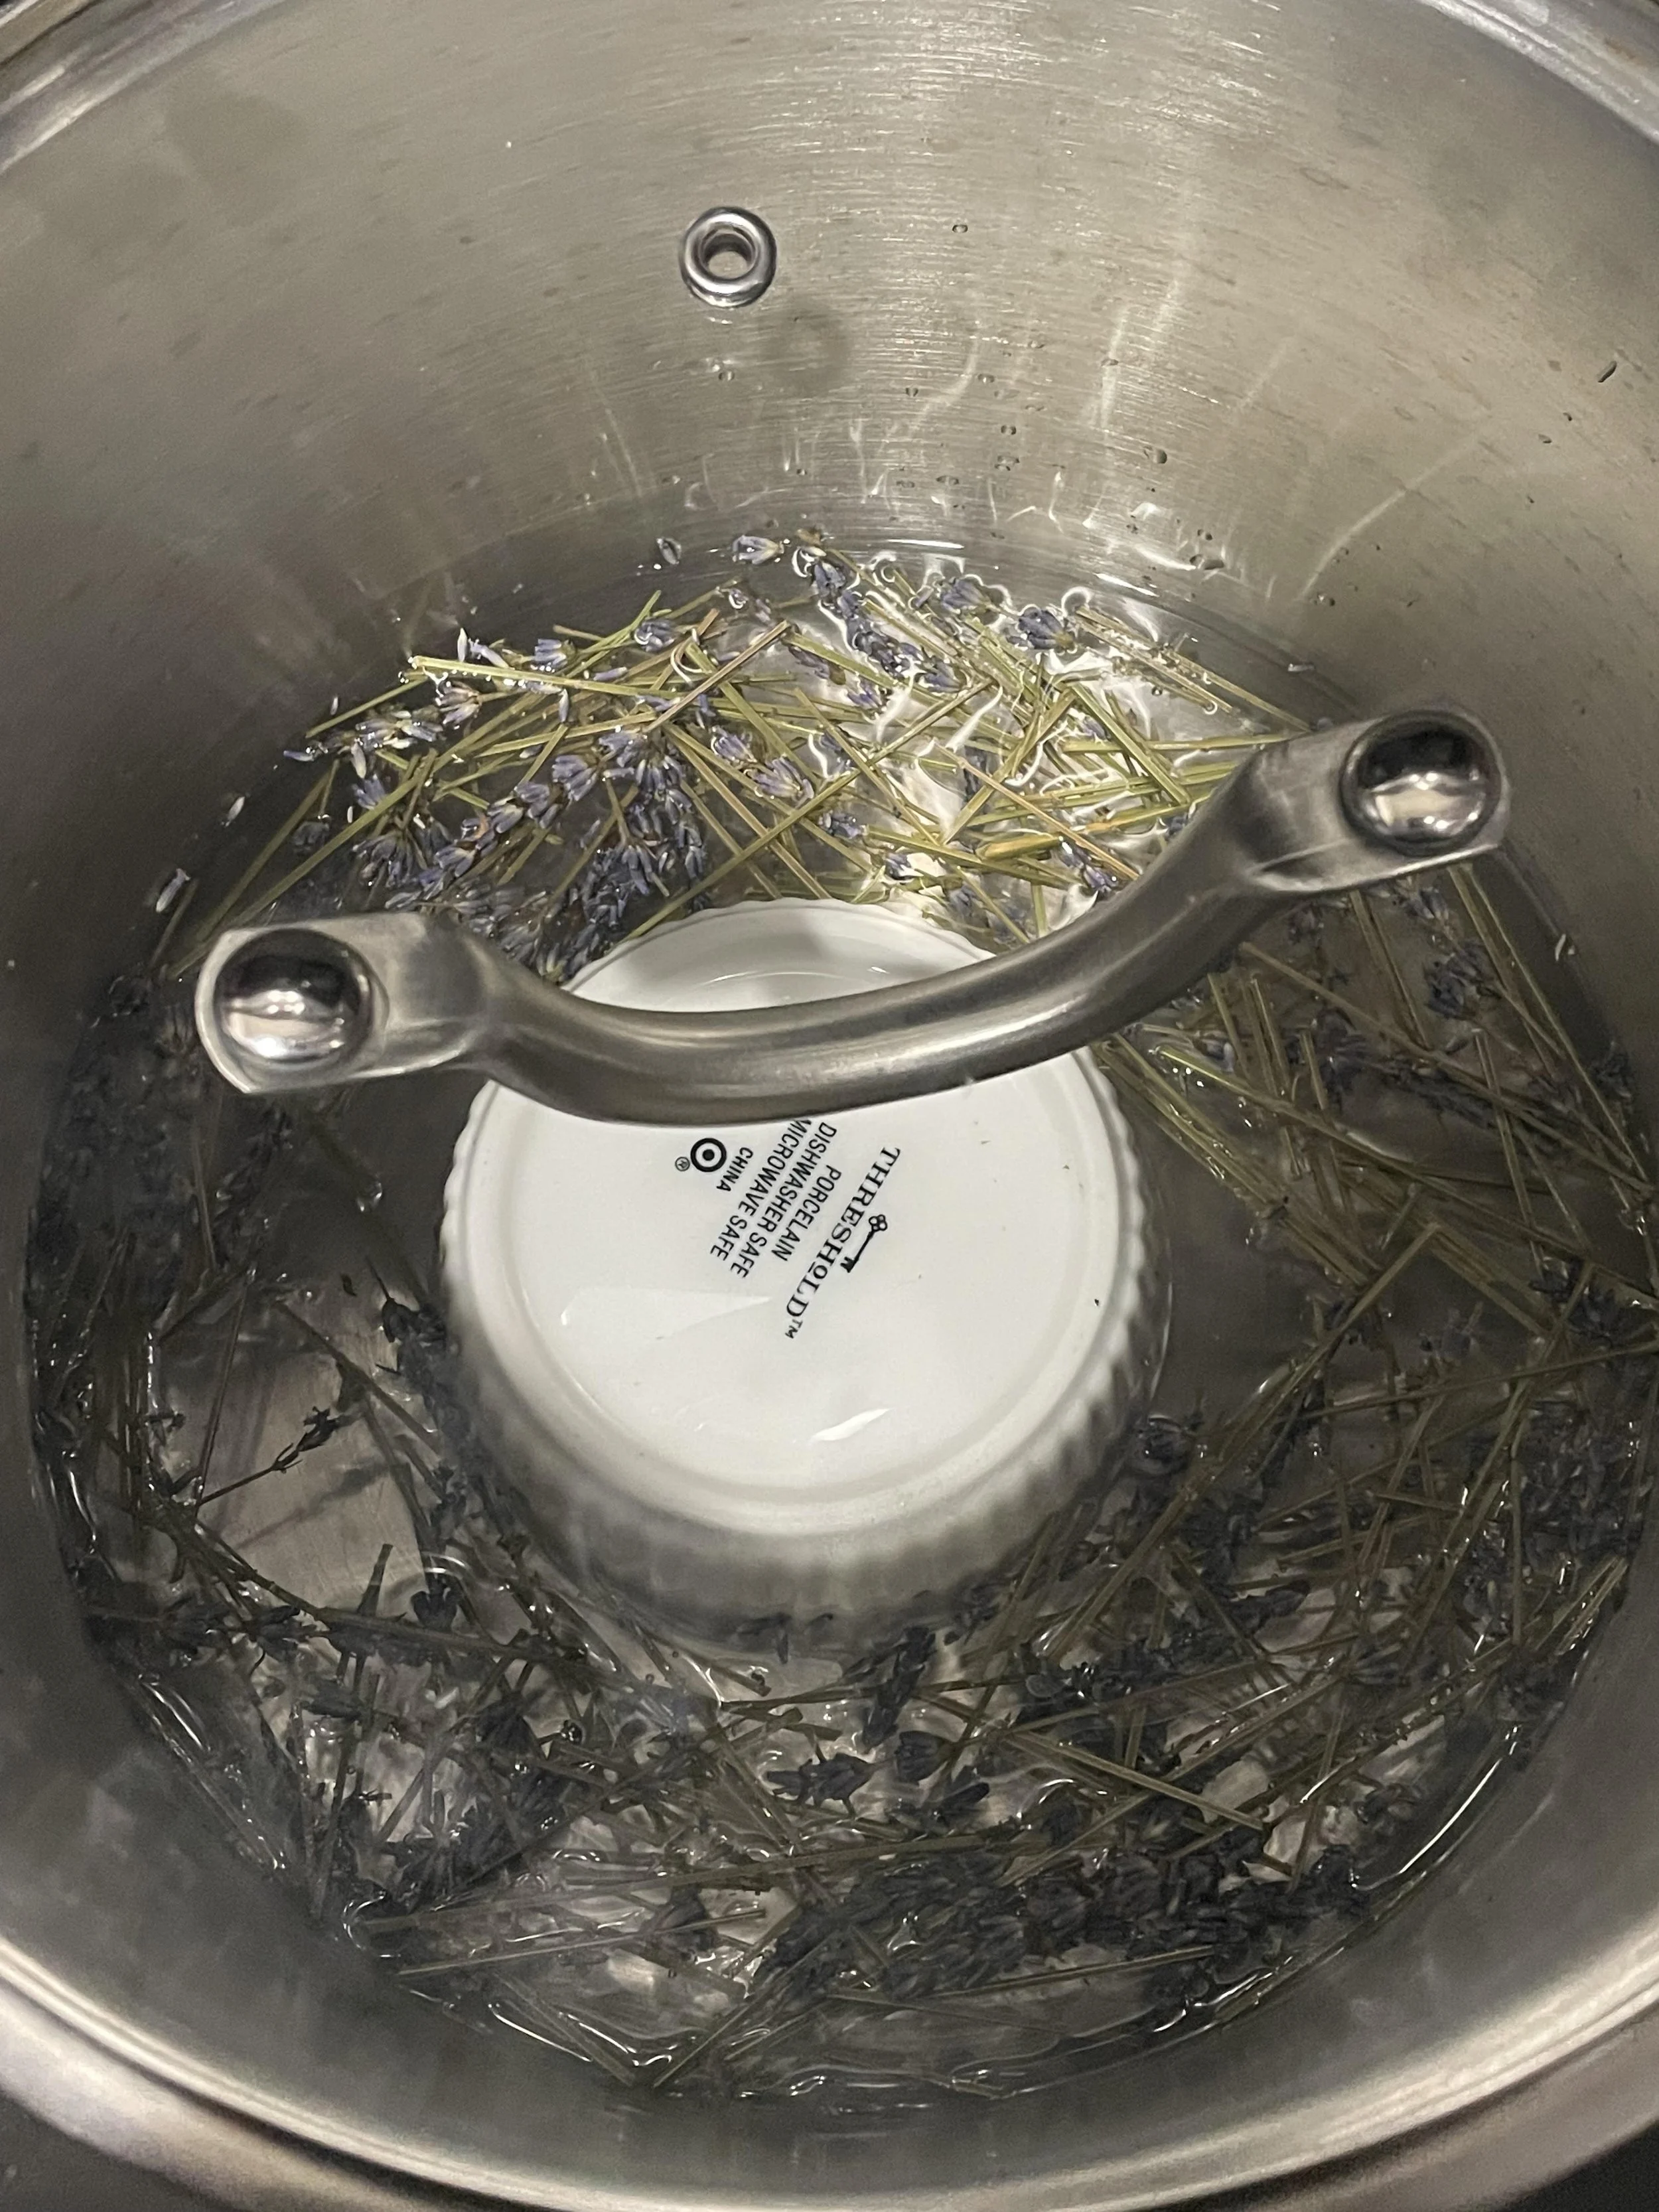
Setting up the pot
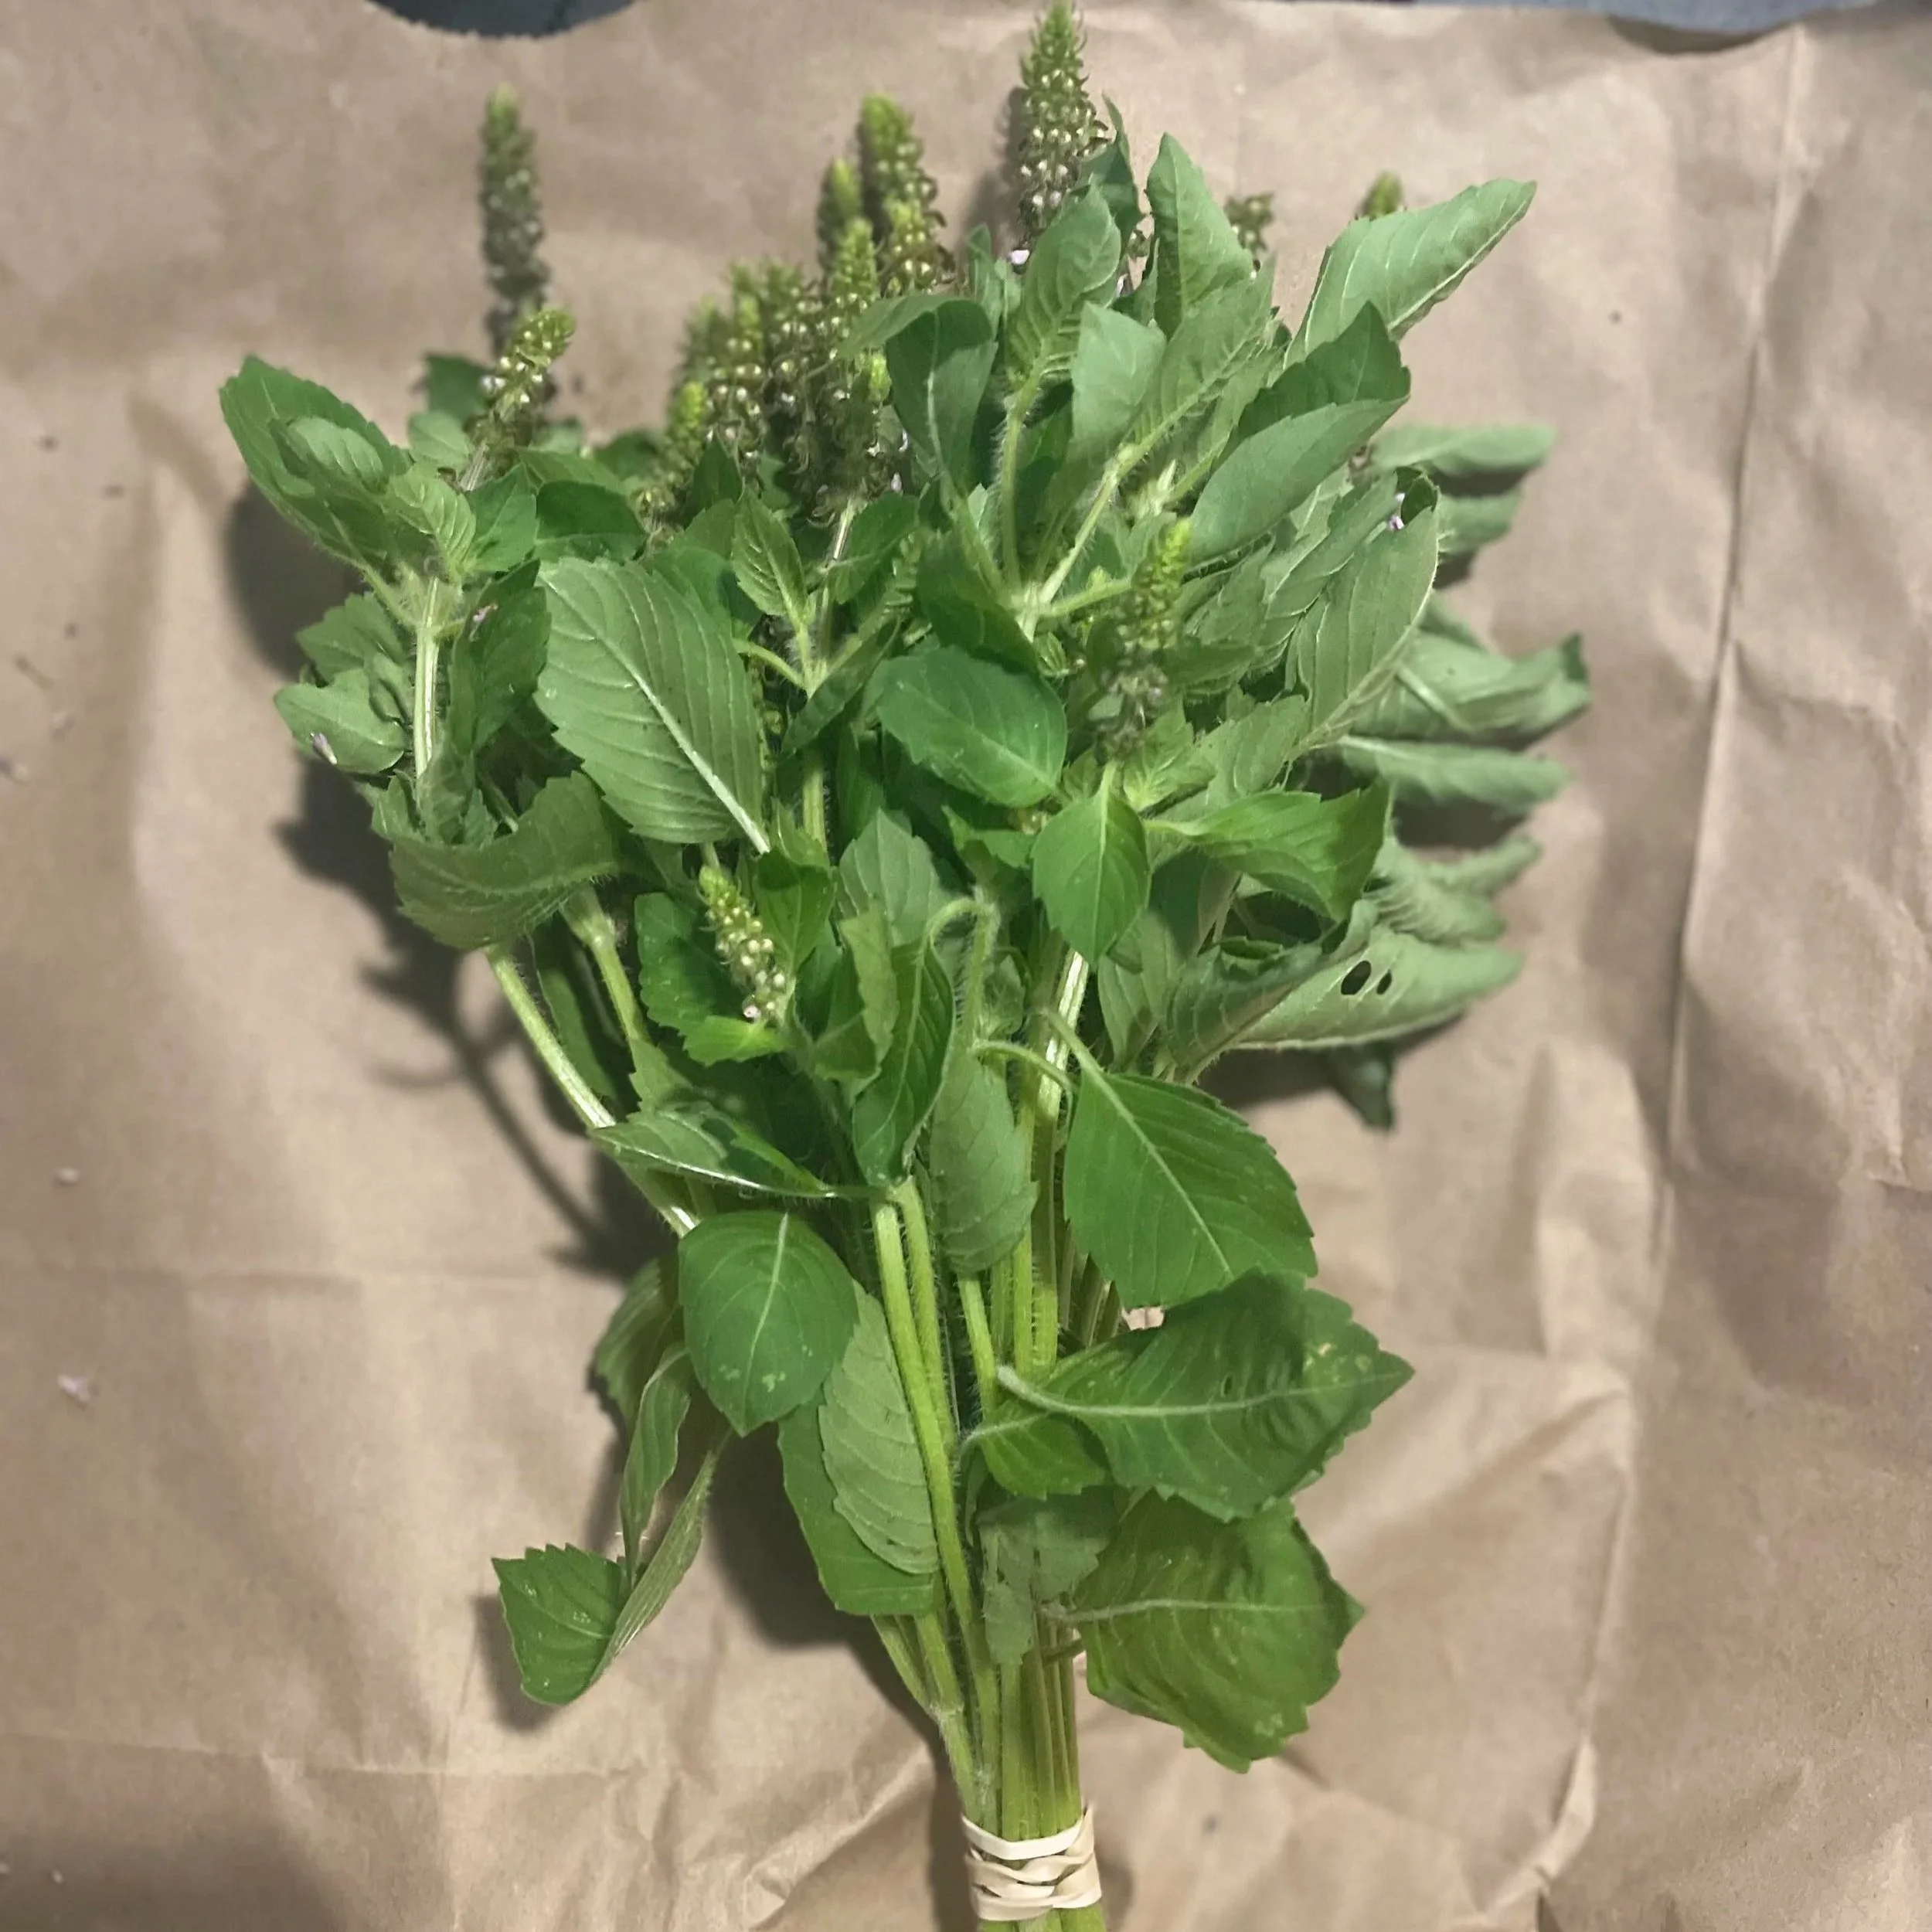
Fresh African tulsi (Ocimum gratissimum)
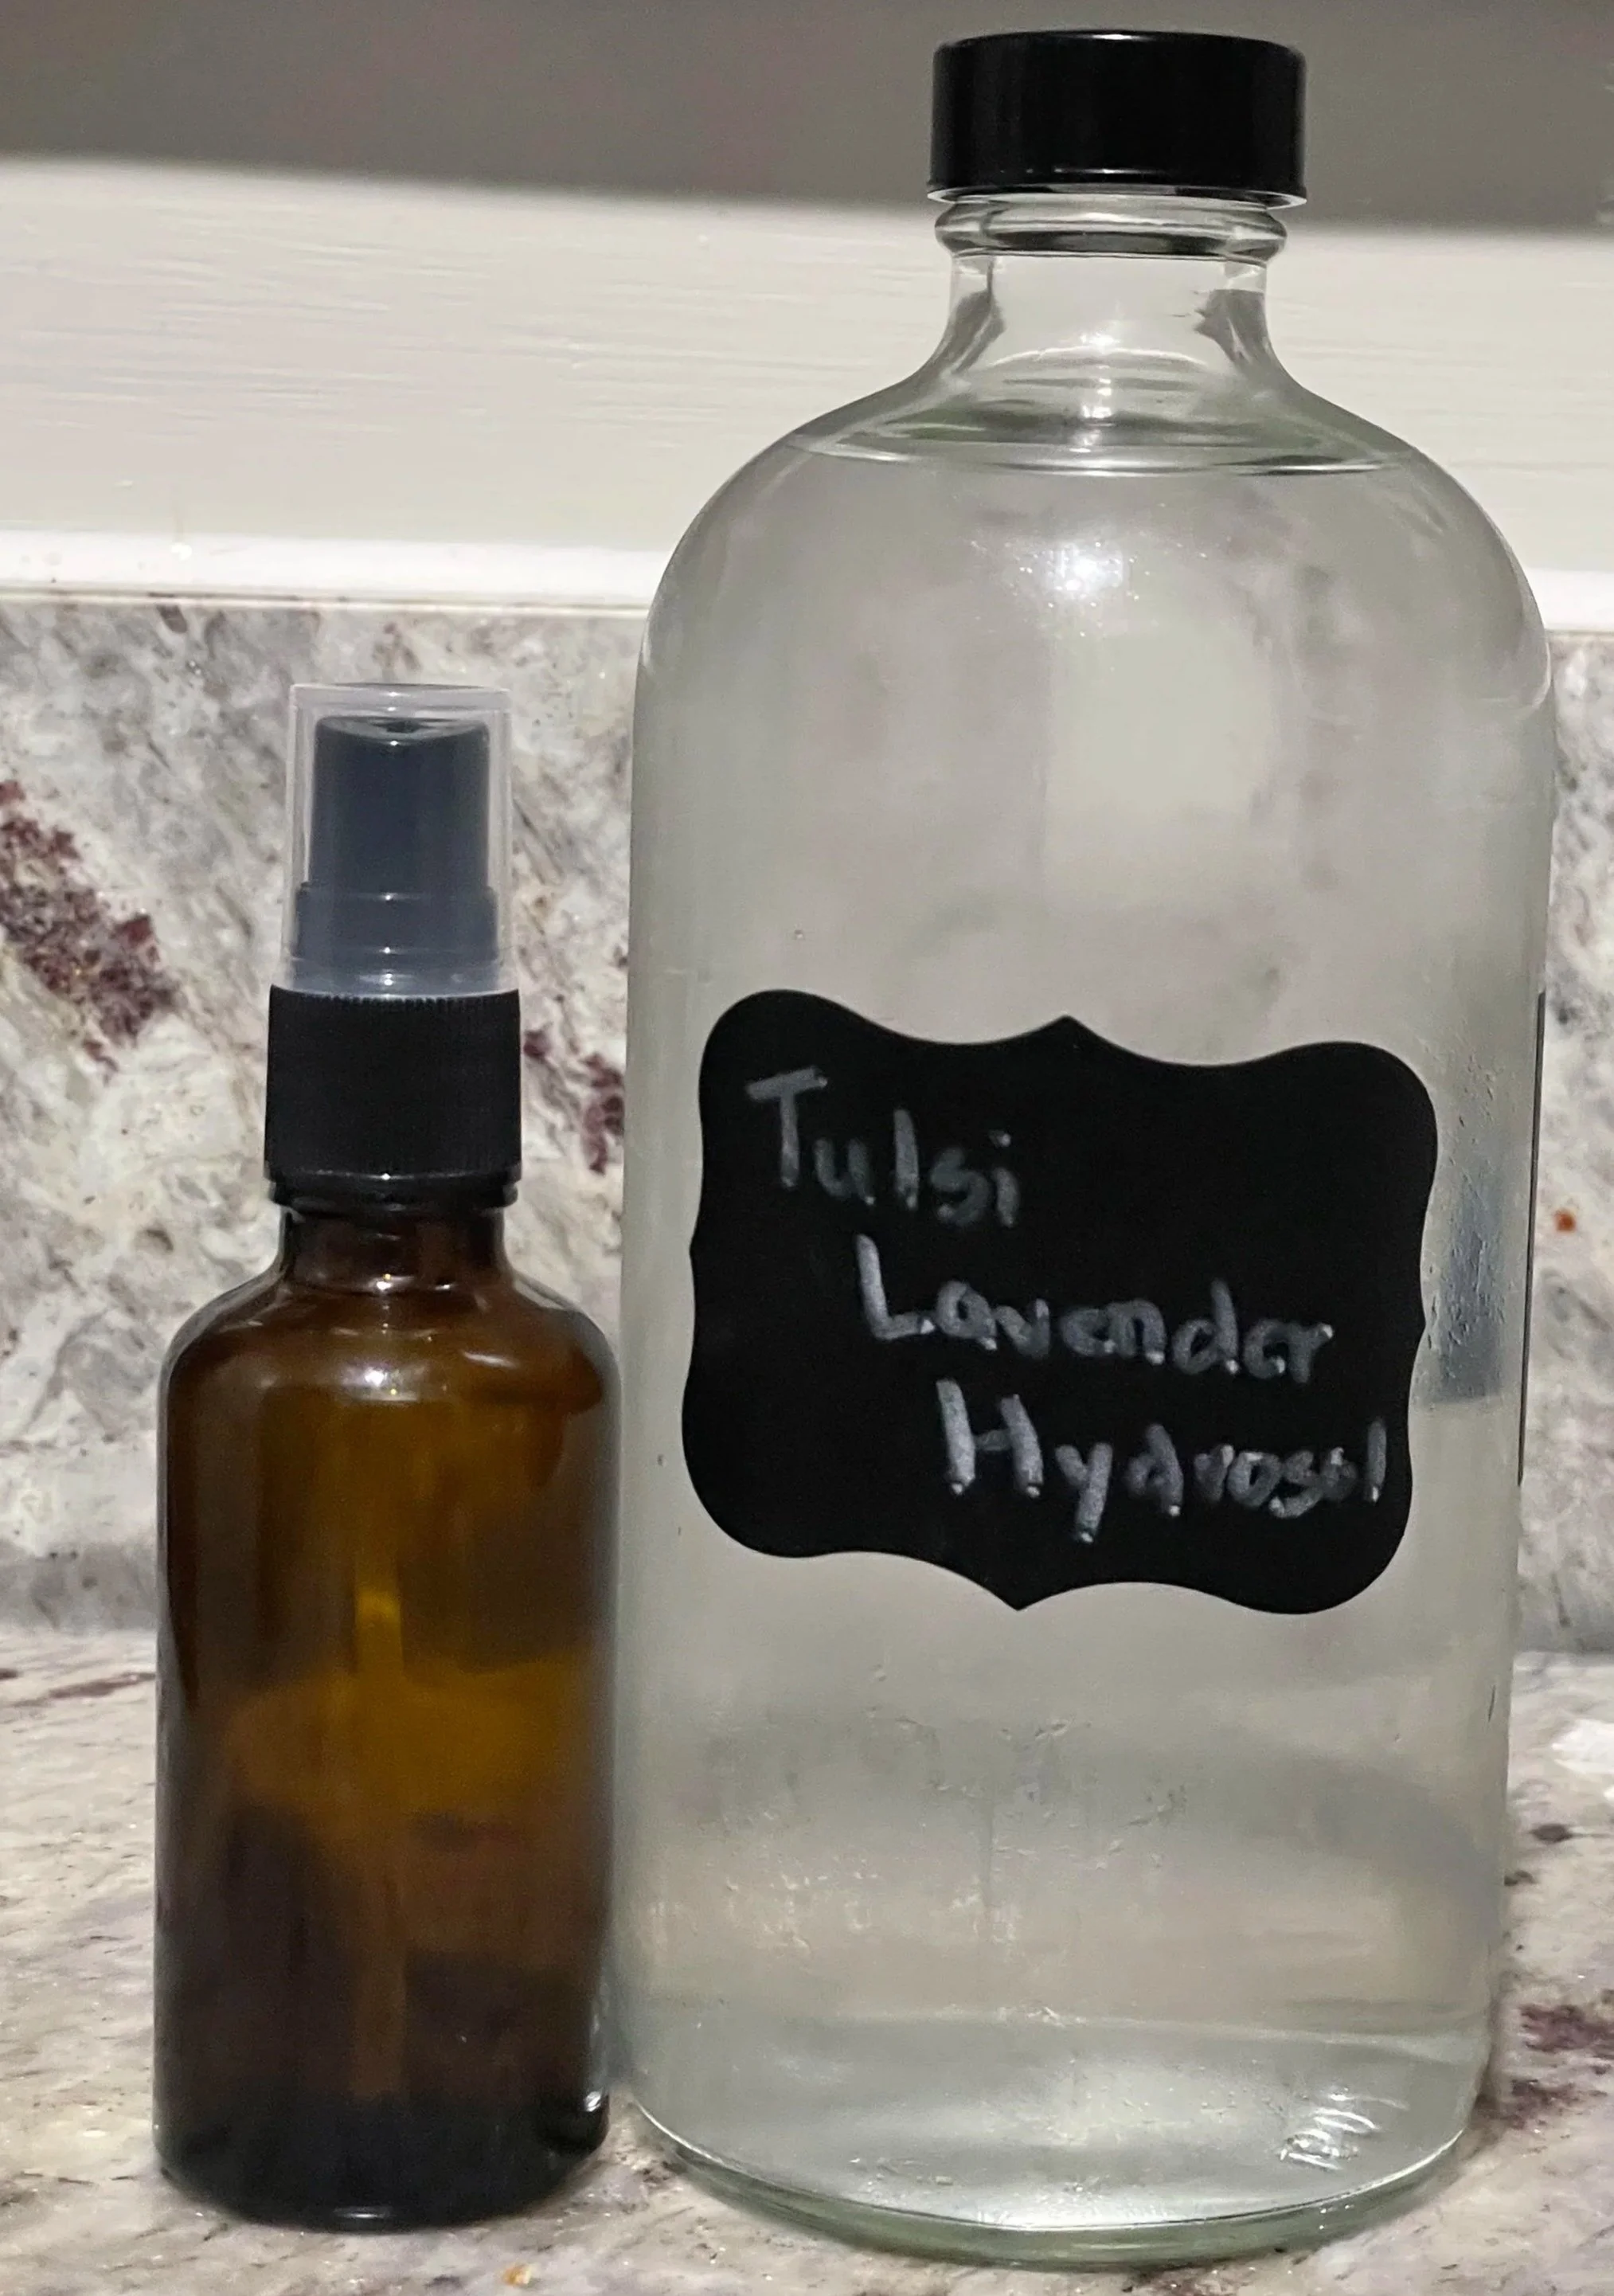
Tulsi lavender hydrosol
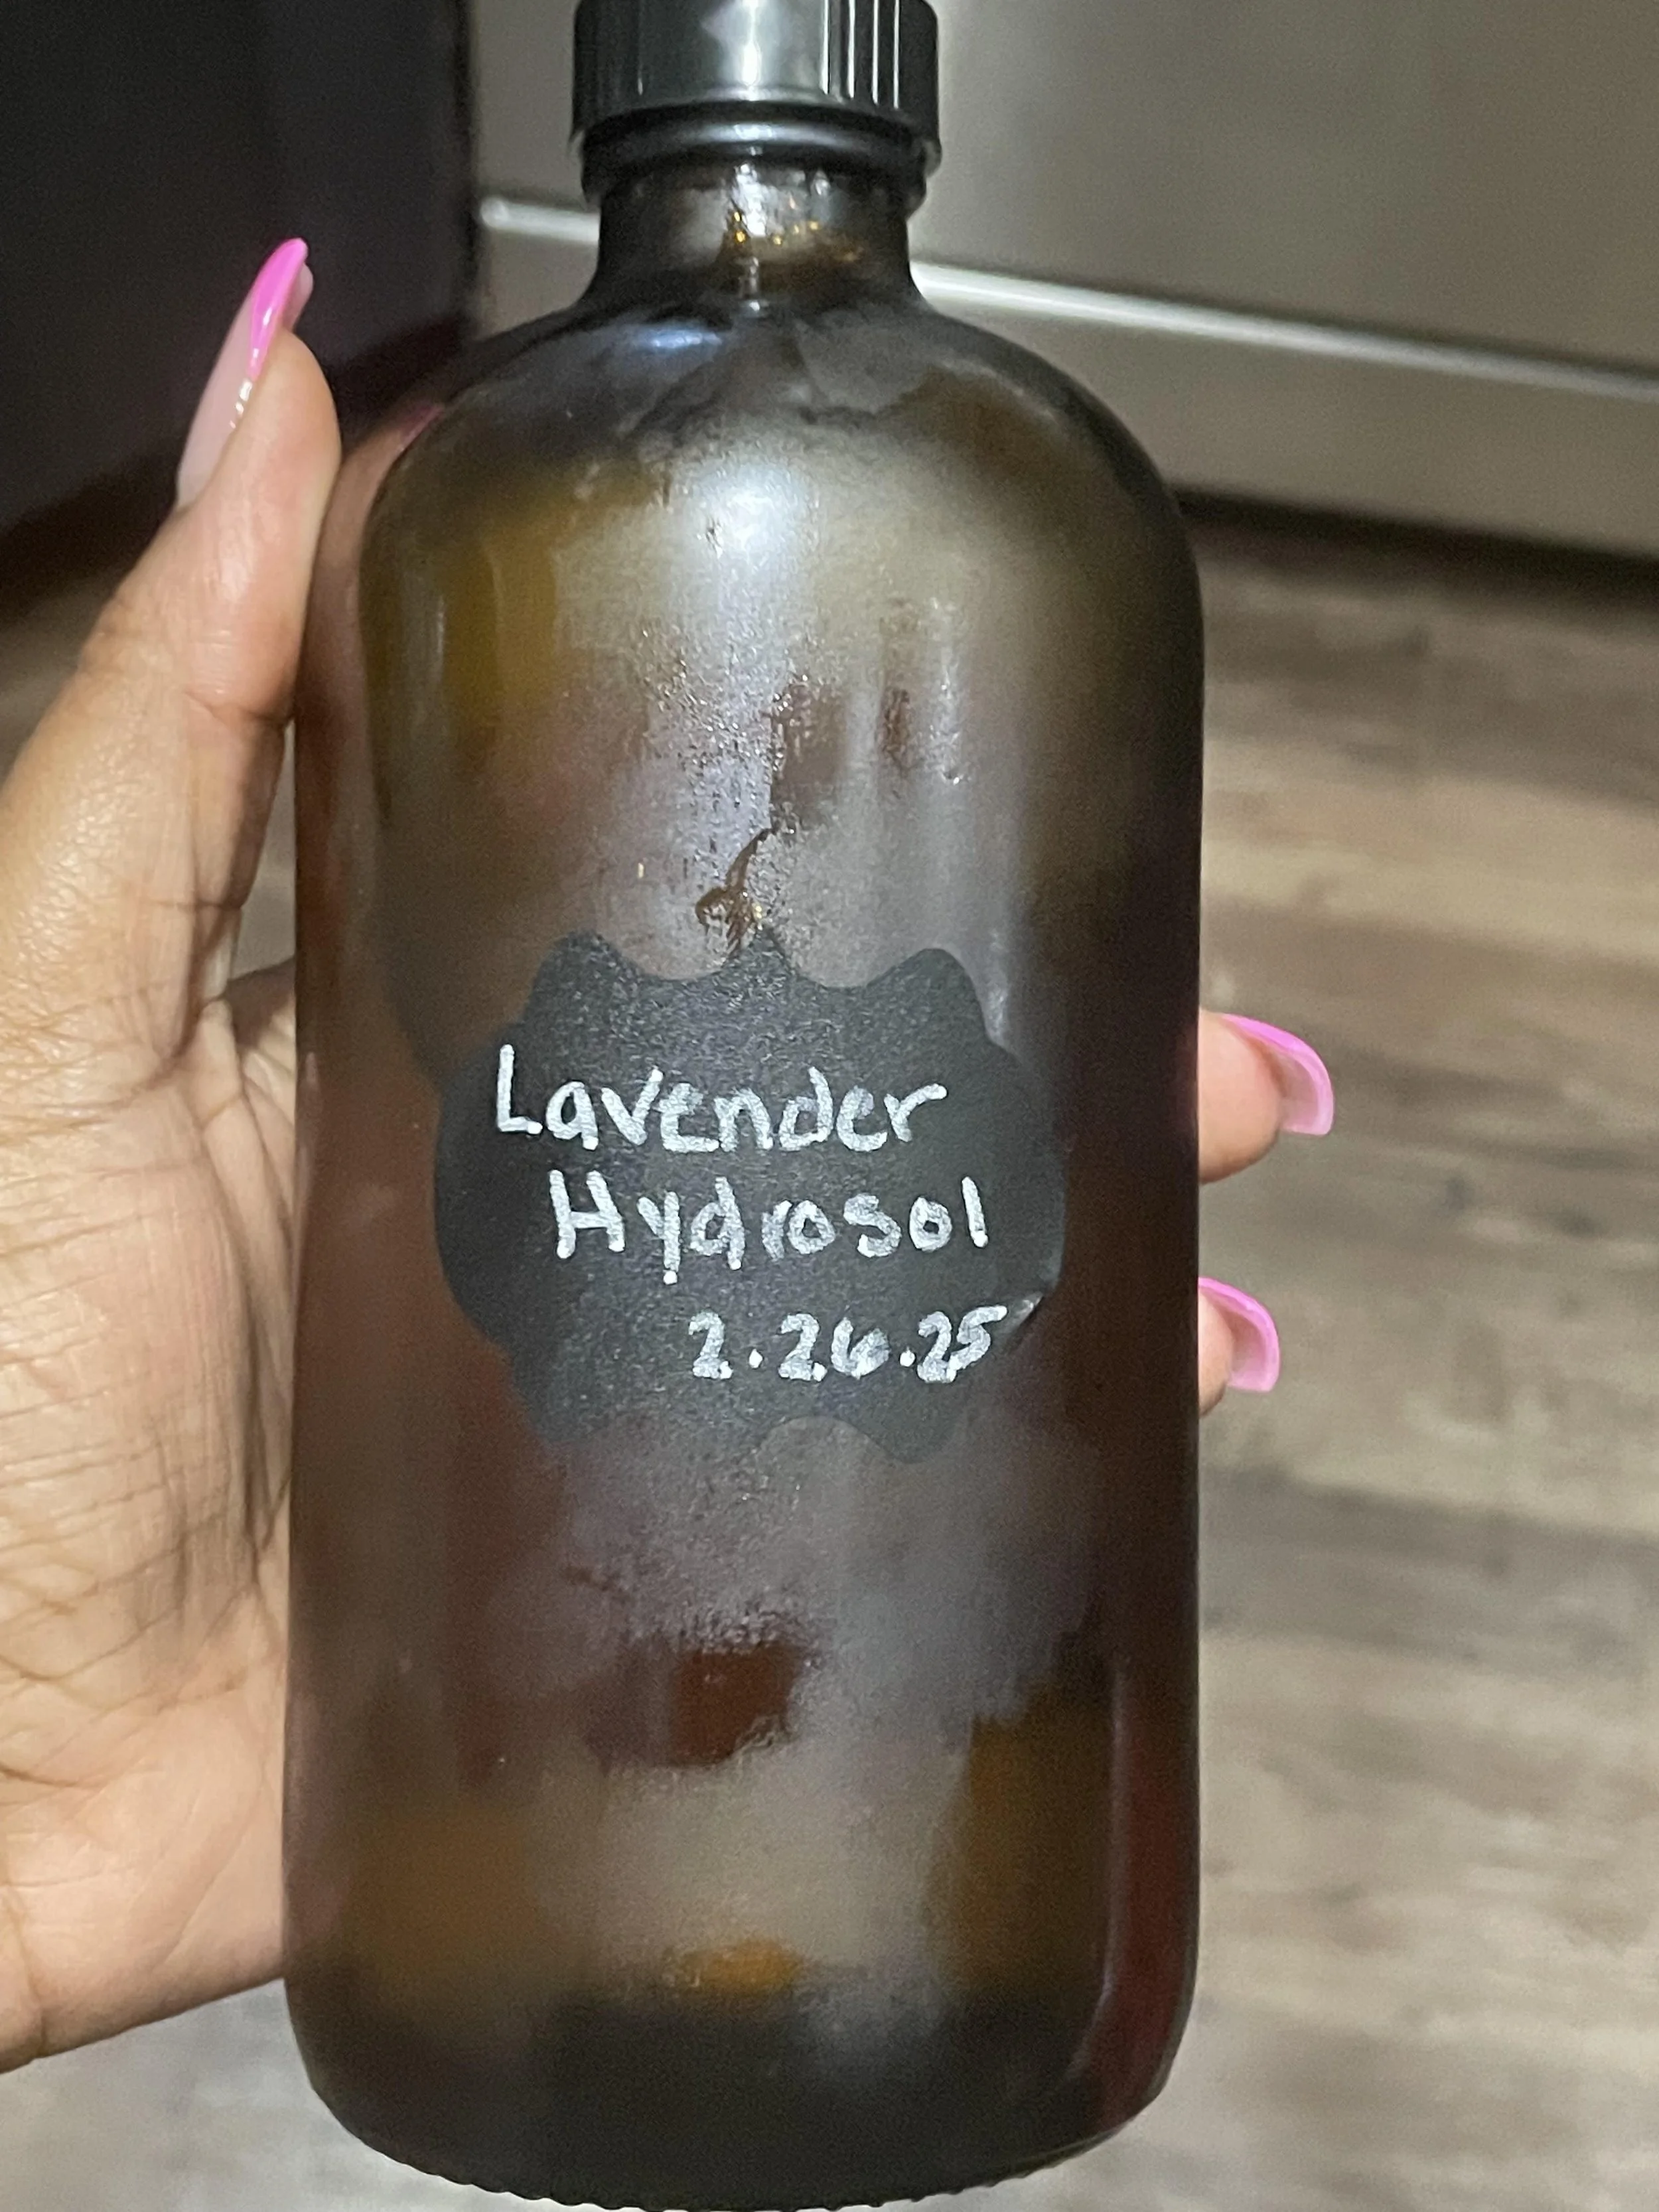
Lavender hydrosol in a sterilized amber bottle for additional preservation
Step 6: Turn the heat on and put it on high. When the water starts to simmer, turn the heat down to medium or medium-low.
Step 7: Place a bag of ice on top of the lid. This will help create steam in the pot which will then drip into the bowl. That liquid is your hydrosol.
Step 8: Replace the ice as it melts over time.
Step 9: Once the the plant material look “spent” or the smell starts to change, remove the bag of ice from the lid.
Step 10: Let the the pot cool down to room temperature before you lift the lid.
Step 11: Pour the contents in the bowl into a sterilized bottle and cover. Be sure to label with bottle with the date and the type of plant(s) used.
Store in a cool area that does not get any sunlight. I like to keep hydrosols in my fridge when I can but they do well in my bathroom too.